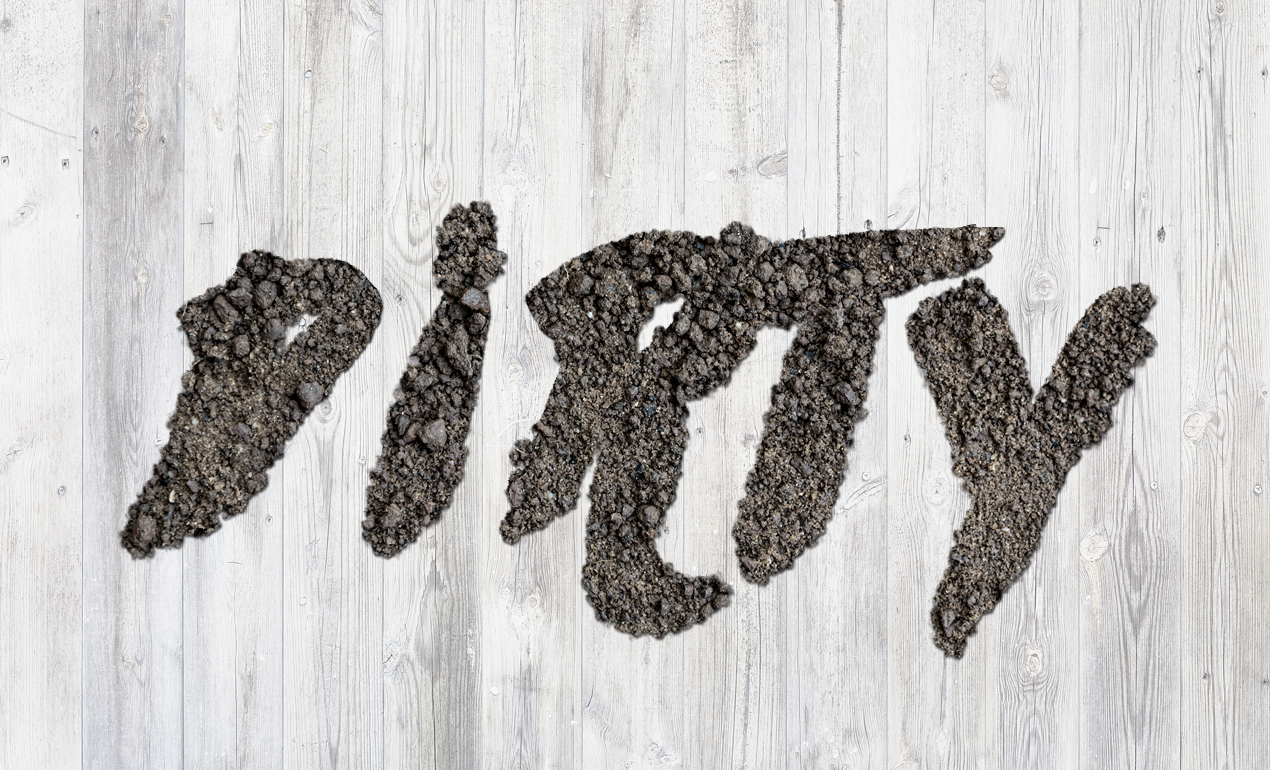
PS Tutorial: Create a Dirty Text Effect Using Photoshop
In today’s tutorial, we are using a stock image of soil to create this sweet text effect in Photoshop. Ready? Let’s go!
You’ll need:
- Photoshop
- An image of soil, like this one we purchased from Adobe Stock.
- Dirt Brushes, or our Dirt Brush Sample
STEP ONE: Open up a new document in Photoshop. I’m using a document sized 1270 x 770. (Transparent background please).
STEP TWO: Type in the text of your choice in the center of your document. Side note: I love using Guide Guide to center documents. I’m using Againts, but feel free to use any font you like. Make sure you text is black, then enlarge your text so that it looks similar to this:

STEP THREE: Let’s add our texture! File > Place your texture over your text, making sure your text is covered completely and that the soil layer remains on top of your text layer. Let’s name our layers now. Our top layer is our “Texture” and our bottom layer is our “Text.”

STEP FOUR: Let’s proceed! Press CTRL + the “T” in your Text Layer. This will give you the marching ants, indicating that your text has been selected.


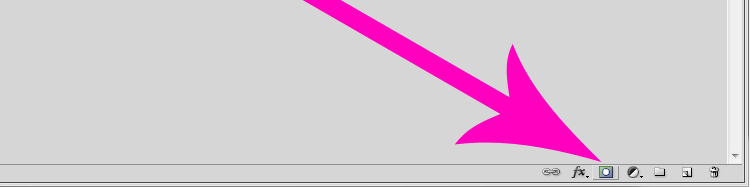
STEP FIVE: Next, click on your Texture layer. Let’s add a layer mask using the layer mask button in our panel options below.

STEP SIX: Press “B” to select your brushes, then head to Edit > Preset Manager > Load to locate and find your new brush. Open up your brush palette to modify the brush to your liking. Here are the brush presets I have chosen:

STEP SEVEN: Next, select your text layer. Right click it and select “Create Work Path.”
STEP EIGHT: Then, click on your mask, which appears in black. (Mine says, “Dirty.”) Press “P” to select your pen tool.
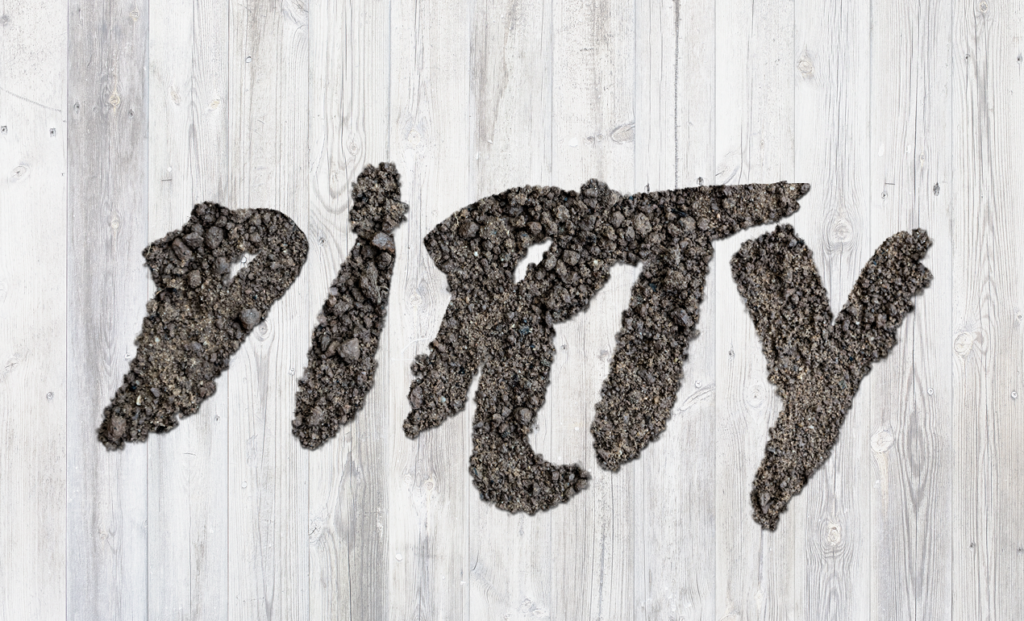
STEP NINE: Next, touch your pen tool to any spot within your text. Right click and select “Stroke Path.” Make sure brush is selected and simulate pressure is on. You should now see a subtle dirt effect around your text.
In order to intensify this effect, head back over to your layer mask and press “B,” then enter multiple times, until you get the effect you’re after.

STEP SEVEN:
All finished? Press “P” on your art board, right click, then “Delete Path,” in order to delete your work path. You’re done! I’ve added a background and subtle drop shadow to finish my hero image off. Please share your finished products with us by tweeting us @go_media or sharing your message with us via Instagram. Have a wonderful day!
Comments are closed.