
Design Tip of the Week: Create a Seamless Pattern in PS with Go Media Vectors
Today’ll we’ll be using Adobe Photoshop to create a seamless pattern. We’ll be using the Tattooesque Elements Vector Pack by Arsenal Artist Jeremy Child. Download it now and join us!
Believe it or not, this skill takes only a few moments to learn and sets us up for a lifetime of creating patterns for us in many projects. Let’s go!
How to Create a Seamless Pattern in PS
Step 1:
Ctrl + N to open up a new file in PS. I’m using a 500 x 500 px canvas.
Step 2:
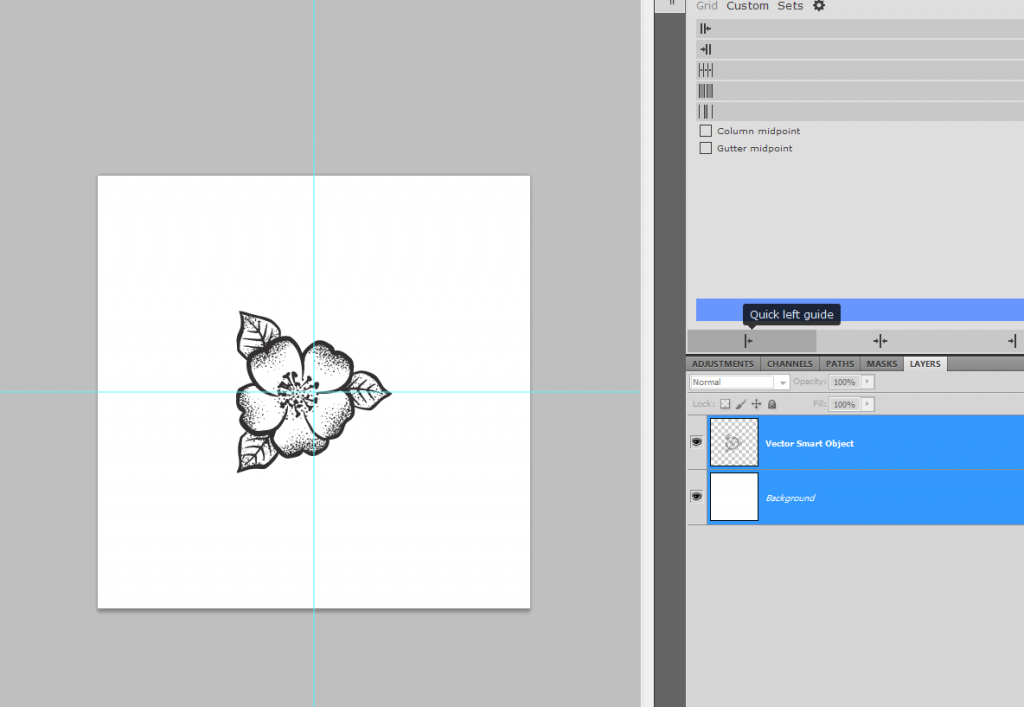
Drag a Go Media vector onto your canvas and center it.
(You can do this by rasterizing your vector, then selecting both image and background layers. Then, select “V” to move. Next, align your image both horizontally and vertically using the icons on the menu bar.)
Step 3:
Making sure your image (layer 1) is selected, select Filter > Other > Offset. Before pressing okay, enter in what would be 1/2 of your canvas size for both the horizontal and vertical entries. In my case, my canvas size is 500. So, I entered 250 for both.

Step 4:
Continue adding your vectors until you are happy with your pattern.

Step 4:
Next Ctrl + A to select ALL, then Edit > Define Pattern. Now, name your new pattern!

Step 5:
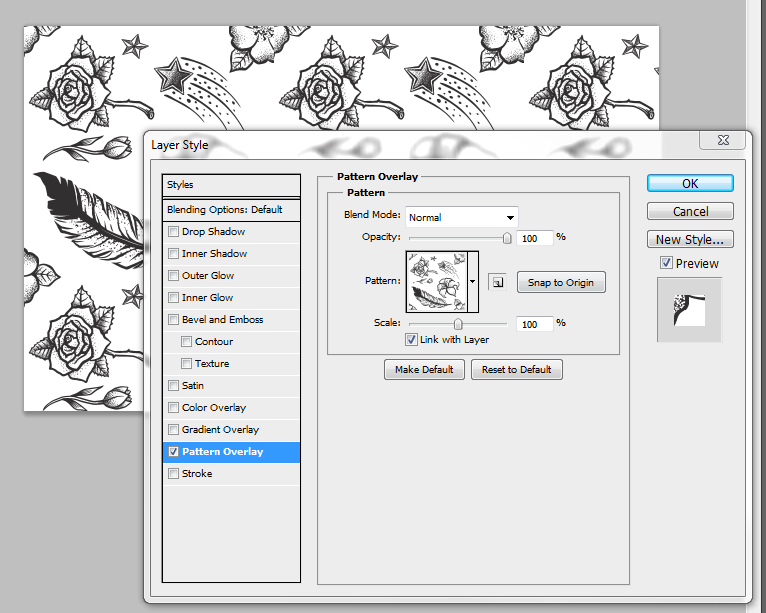
Let’s see your pattern at work. Open a new document and a fresh new layer. Double clicking on that layer to pull up the layer style menu. Check the “Pattern Overlay” box.

Step 6:
Next, choose your pattern from the small drop-down! Play around with modifying your patterns size here. Have fun!

Comments are closed.