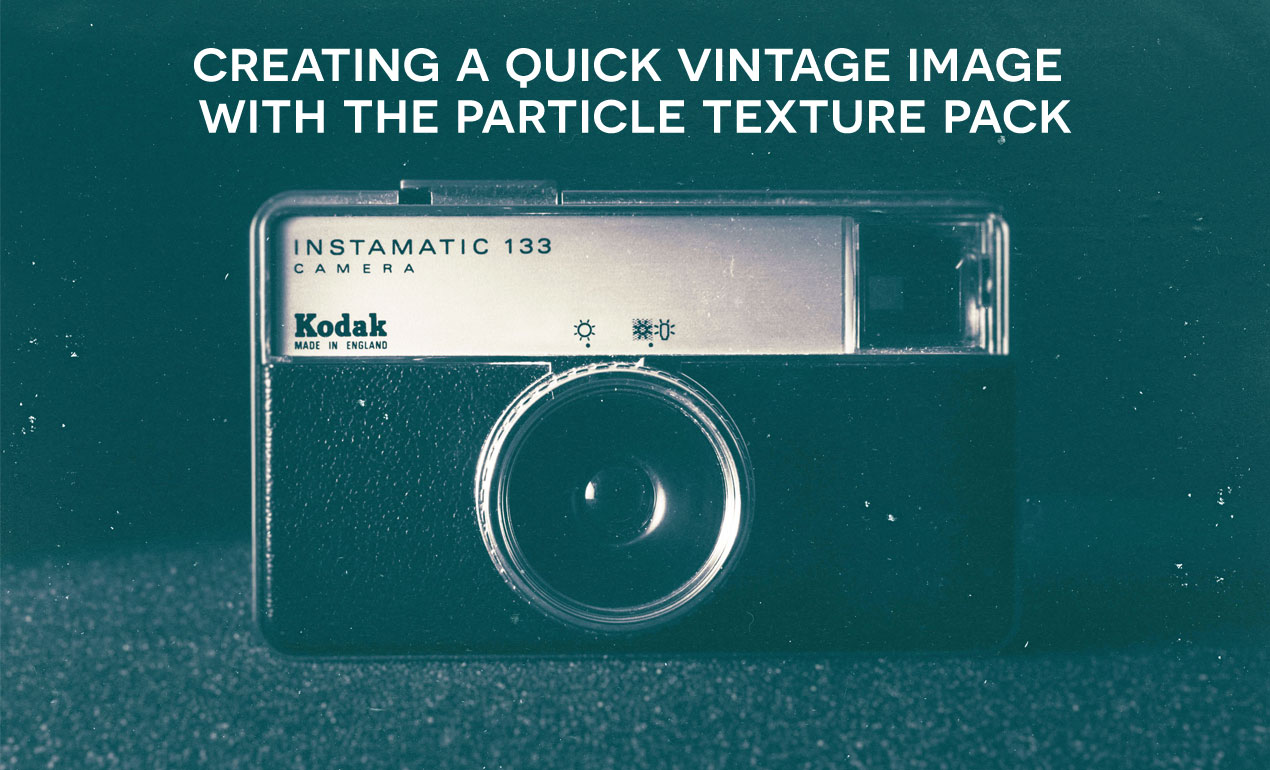
How to Create a Vintage Image with Photoshop
We’ve just released the Particle Texture Pack, which includes 20 unique high-resolution jpeg files of dust, scratches, and scrapes for your downloading pleasure. The pack is gloriously simple to use. Simply File > Place your image under your new texture, apply some vintage color corrections to your photo, change your blending mode to screen and poof! You’re done! Let’s review that below.
What you’ll need:
- The Particle Texture Pack (one texture of your choice)
- An image of your choice. I downloaded this camera image from Unsplash.
- Photoshop
Grab the Particle Texture Pack!
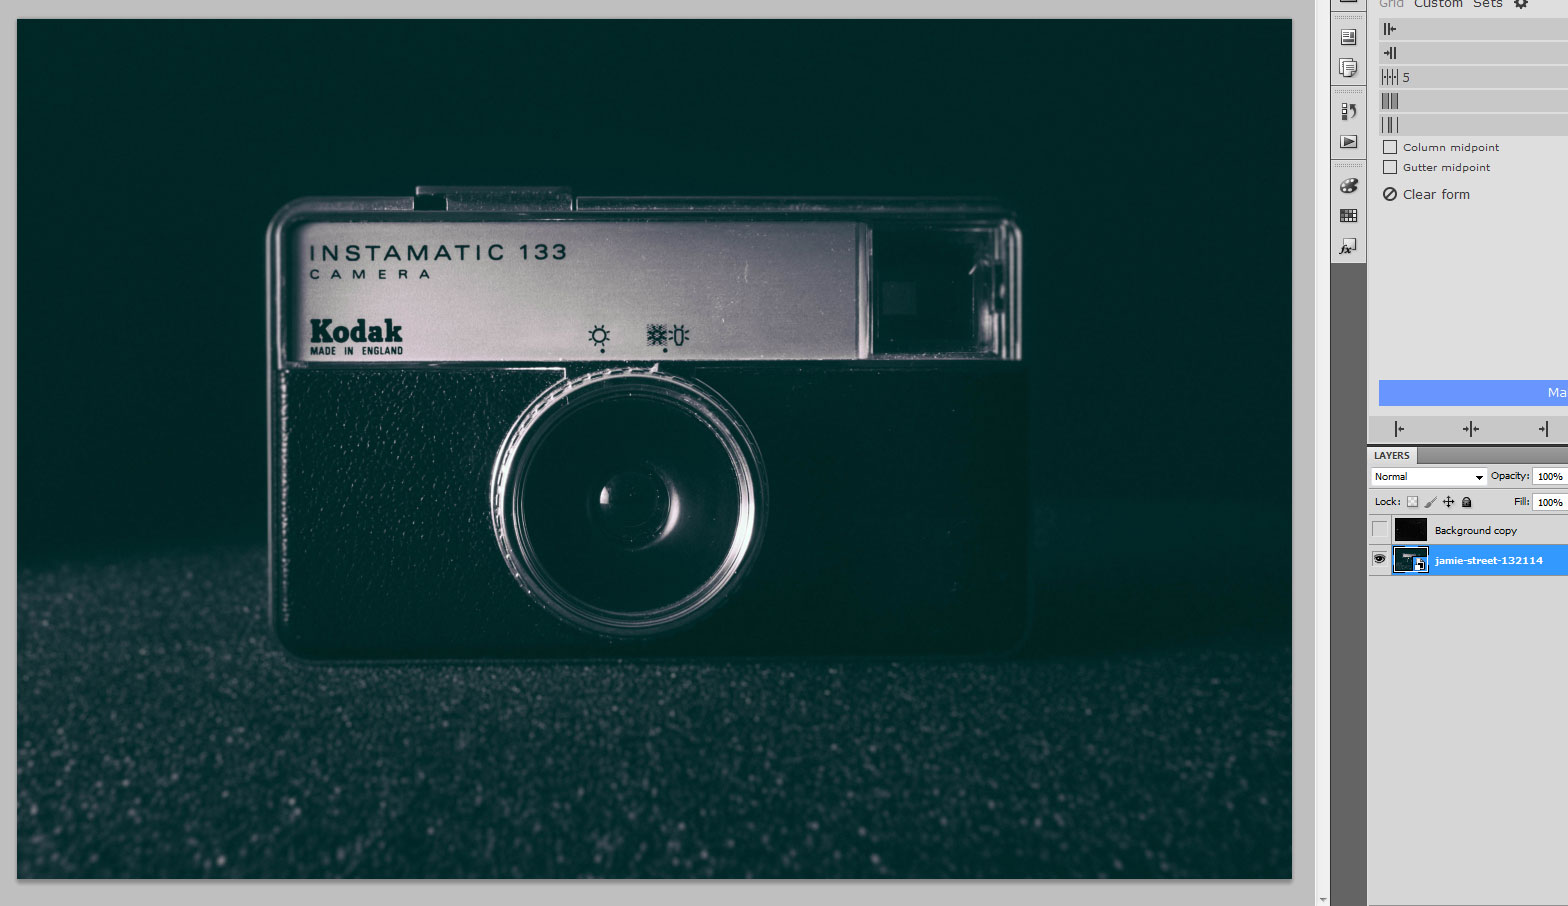
STEP One: Open the texture of your choice in Photoshop. Next, file > place your image below the texture.

STEP Two: Use the eyeball icon to hide your texture.
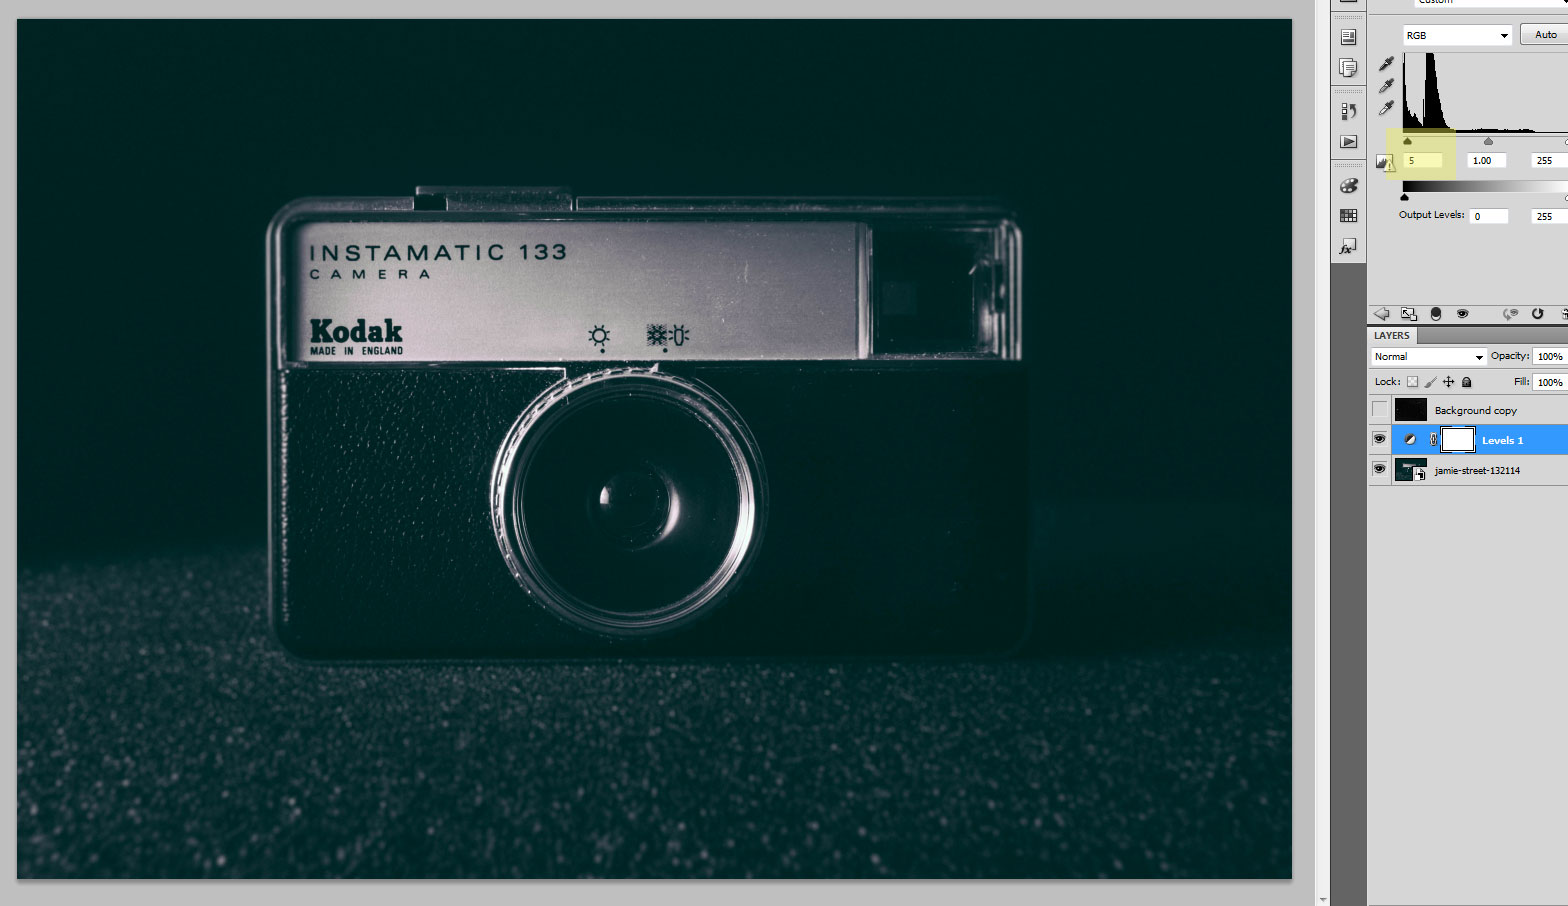
STEP Three: Now, on the image layer, go to Layer > New Adjustment Layer > Levels and hit OK. On the RGB setting, move the black point to a level 5.
STEP Three: Now, on the image layer, go to Layer > New Adjustment Layer > Curves and hit OK. Using the drop-down, create an arch using the points given on your red, blue and green settings.


STEP Four: Head back to the texture layer. Turn it back on and change its blending mode to screen. You’re done!
