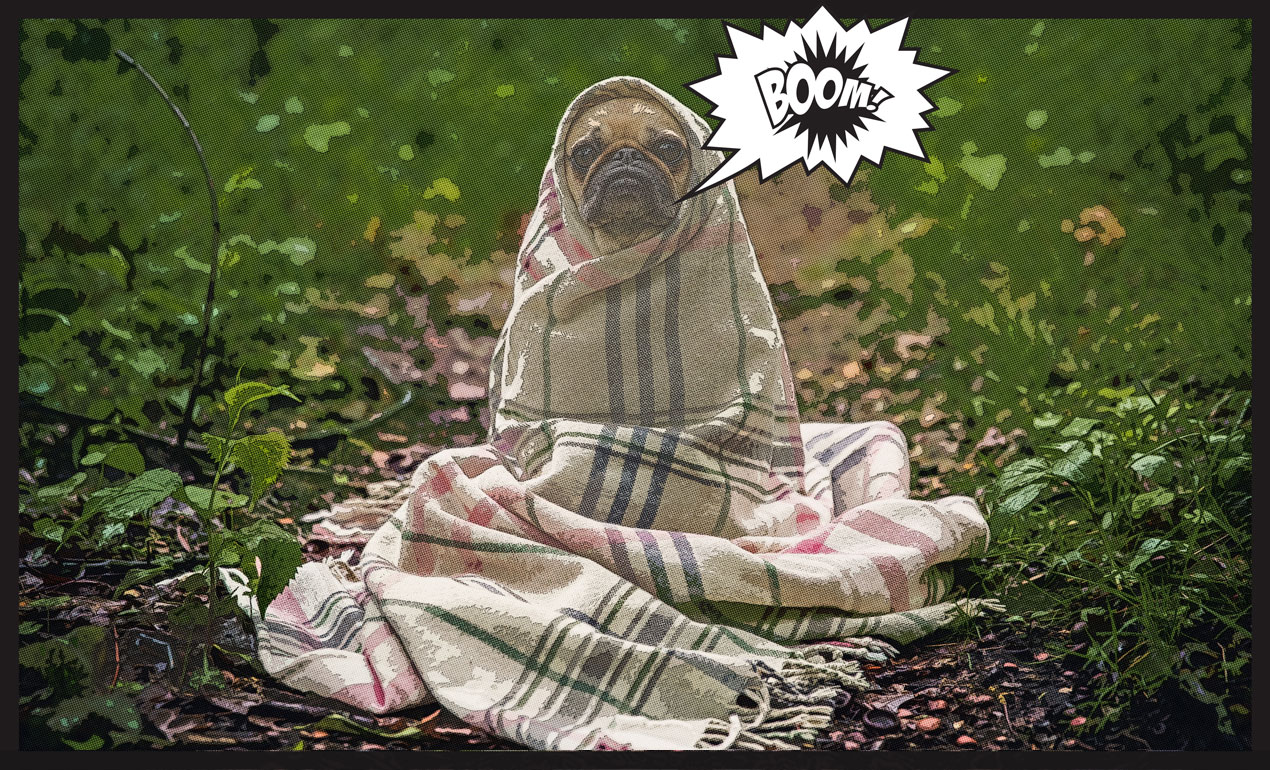
PS Tutorial: Make your dog into the comic book hero he was meant to be (and free layer style)
Is your dog a super hero? Then follow along with our quick 10 step tutorial to turn the little guy or gal into a super pup! All you need is Photoshop and about 5 to 7 minutes – or, you can just download our free layer style and call it a day!
For our free download, scroll to the bottom of the page.
Super Dog Comic Book PS Tutorial
Step 1. Open Your Photo in Photoshop.
Step 2. Convert your photo into a smart object and let’s go!
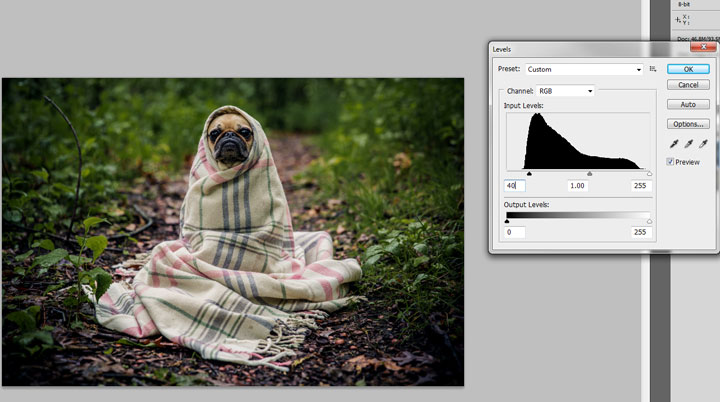
Step 3. Control L to adjust your layers. Adjust to darken your darks. Blacks to the 30 / 40 range.
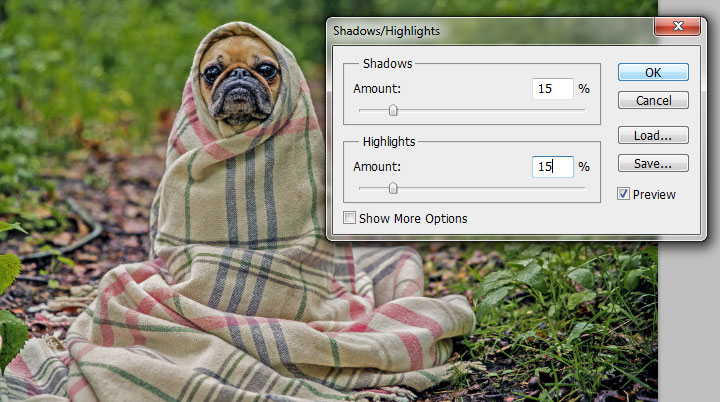
Step 4. Now, let’s adjust our shadows and highlights to 15% a piece.
Step 5. Now, let’s have some fun with our Filter Gallery Options! First, Film Grain
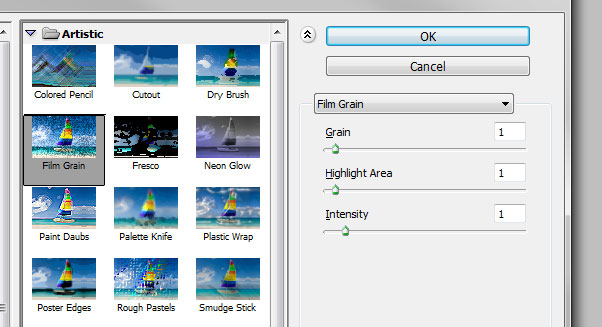
First, let’s head to Filter > Artistic > Film Grain and apply the following –
Grain: 1 | Highlight Area: 1 | Intensity: 1
Step 6. Cutout

Next, let’s head to Filter > Artistic > Cutout
Number of Levels: 5 | Edge Simplicity: 5 | Edge Fidelity: 2
Then, double click on your layer 2 blending options for your cutout layer in order to select a 60% opacity for this layer
Step 7. Poster Edges
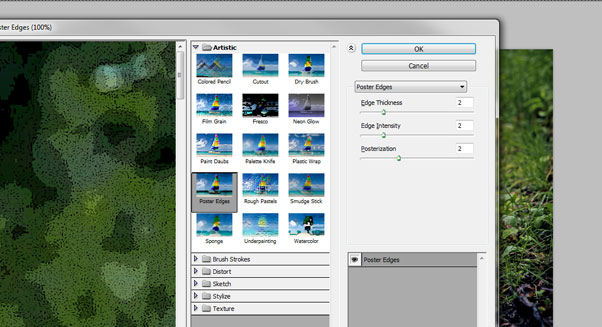
Next, let’s head to Filter > Artistic > Poster Edges, where you will select 2 all across the board.
For your blending options, choose 40%.
Step 8. Color Halftones
![]()
Now, we’ll really achieve our comic book effect when we head into Filter > Pixelate > Color Halftone
We’ll change the max radius to 6 pixels and all channels to 70. Heading over to our layers panel, we’ll next opt to switch our mode to soft light and our opacity to 70%.
Step 9. Next, double click on your layer and choose “Stroke,” adding an inside stroke to the art. (I added a black stroke, sized 73 pixels).
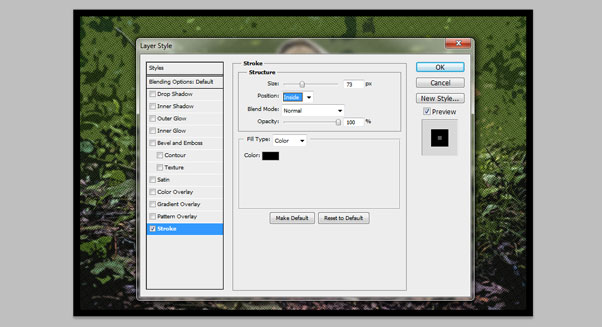
Step 10. Add some Go Media Superhero vector elements and you’re done!

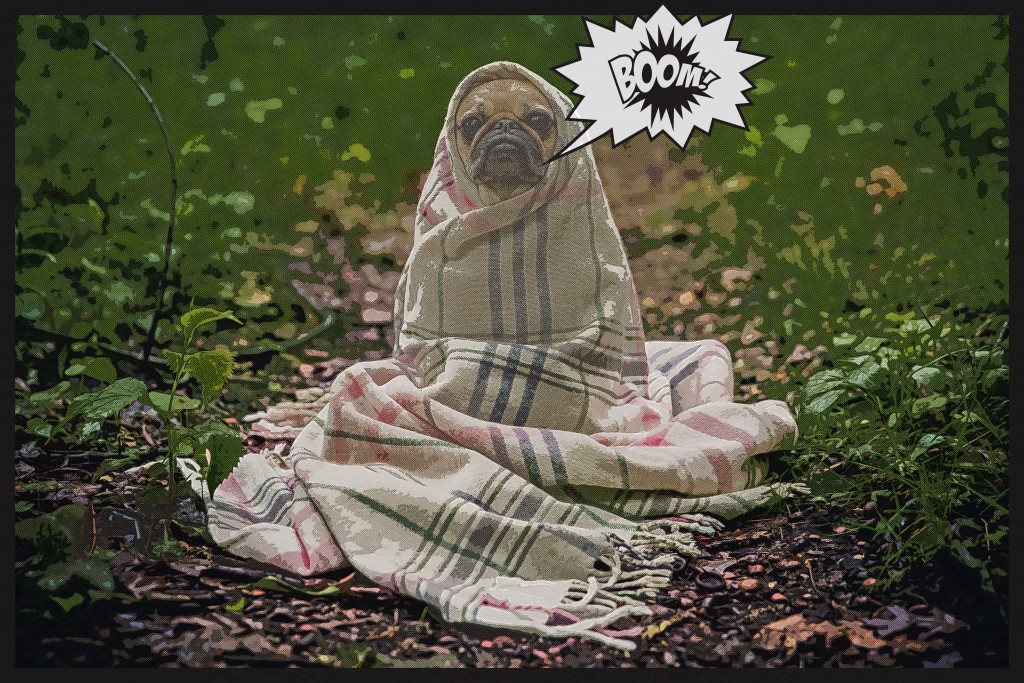
Free Download Comic Book Hero Layer Effect
Here you go, guys! Simply download our free comic book layer effect, double click on the layer as instructed to upload your own photo and poof! Comic book magic!

Comments are closed.