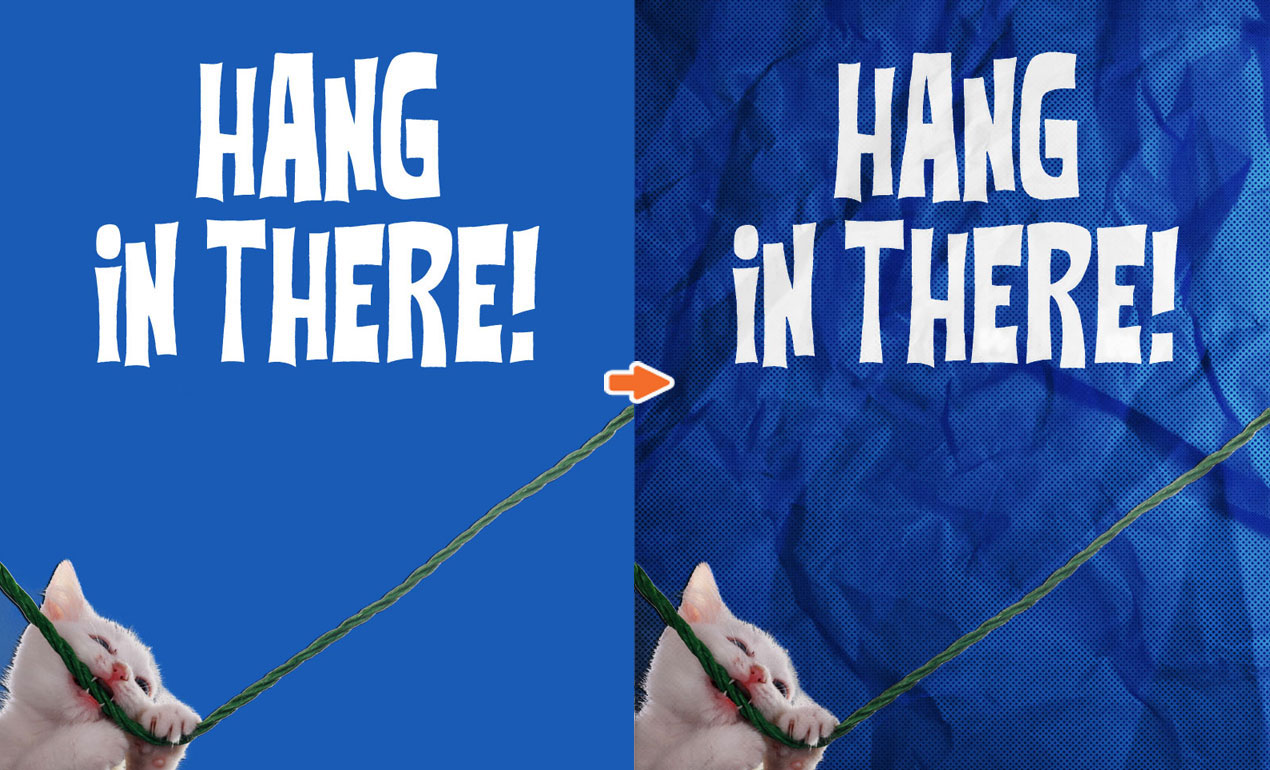
PS Basics: Pimp out your Hang in There Cat Poster with our Crumpled Paper Textures
How to Use Paper Textures in Photoshop >
What’s better than the old “Hang in there” cat poster? Not much in my book. But today, we’re going to add a little more character to one, just for kicks, using our new Crumpled Paper Texture Pack. Let’s see if we can make something purr-dy fantastic even better!
What you need:
- Photoshop
- Crumpled Paper Texture Sample
- Poster
STEP ONE:
Open your cat poster in Photoshop and file > place your texture over the entire image so that it looks like this.

STEP TWO: Set your texture layer’s blending mode to “Soft Light.”

STEP THREE: In order to remove the subtle texture over our cat, let’s get to work applying a layer mask by selecting layer > layer mask > reveal all. This will create a small white rectangular box beside your texture. Click on this newly created mask. Next, select a brush and make sure that your foreground color is black. This will ensure that you’ll be erasing the existing texture from the areas you choose.
When you’re all set-up, use your brush to erase your texture from the cat, rope and text. You should see your work reflected in your layer mask.

The difference is extremely minimal, but…
 STEP FOUR: Duplicate your texture layer and set your new texture layer’s blending mode to “Linear Burn.” (Opacity of around 15%)

Feel free to continue to add more paper (or other) textures, continuing to follow what we learned in step three, until you’re satisfied with your end product. I added another texture from our Crumpled Paper Texture Pack to finish my poster up. What does your end product look like? Tweet it to us @go_media!


Comments are closed.