How to Use Camo Textures
Hi, I’m James Field, a freelance designer specializing in graphics for sports-fashion apparel. I have created a Trend Camos Texture Pack based on recent research into upcoming and current design
trends and increasing requests from clients. I’m going to show how they can be used and customized for your specific needs. I’m using Adobe Illustrator CC, but this technique has been
working in all versions since I started designing around eight years ago, so you should be OK with whatever release you have.
THE PRODUCT
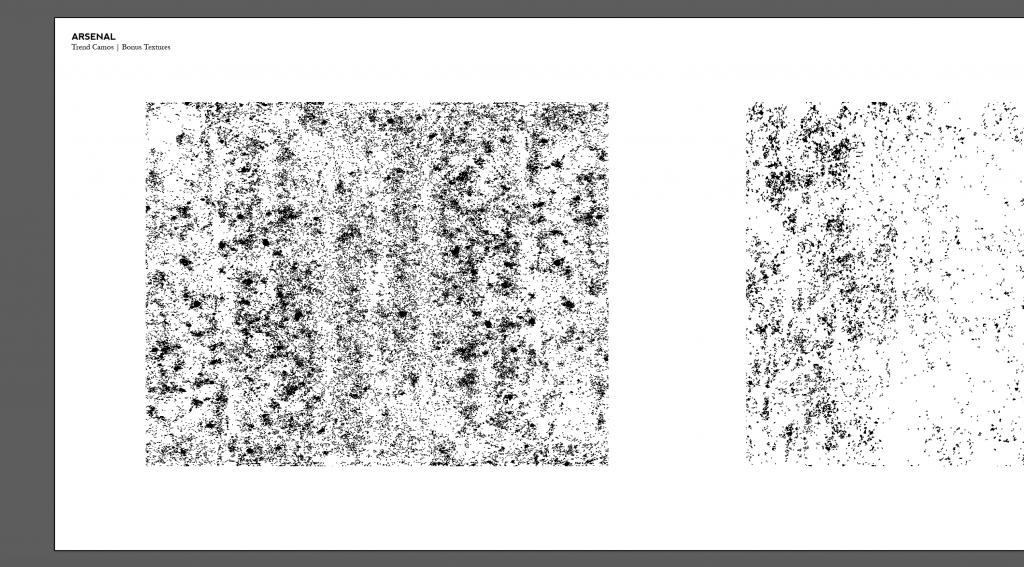
I’m referring to the Trend Camos Texture Pack that I put together for Arsenal. The pack contains x15 different fully repeating camouflage patterns inspired by the latest sports-fashion trends developing on the street. There’s something for guys and girls and many can work for both. All are already available as swatches for immediate use in the colors I have chosen but can be easily adjusted, combined, or altered to create something specific for your own needs. As a bonus, I have supplied three fully repeating textures that can be layered to create distressed versions or used in your other projects on their own. The final camo in the pack is provided as layered TIFF files that can be colored and used directly within illustrator as this works best for the more complicated distorted look.
Learn More about the Trend Camo Texture Pack
HOW TO USE : THE BASICS
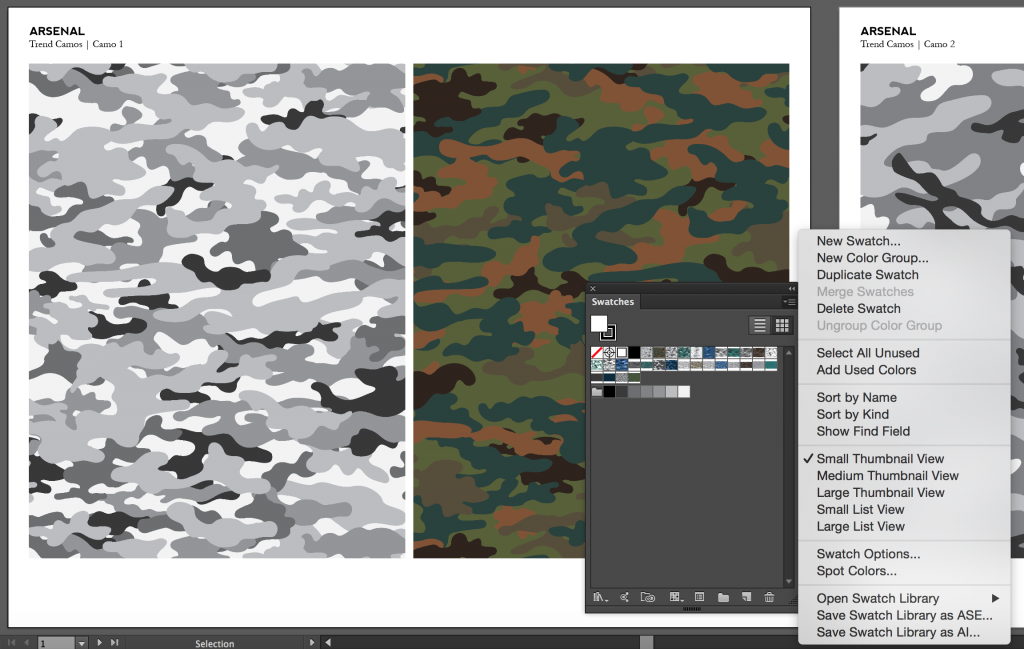
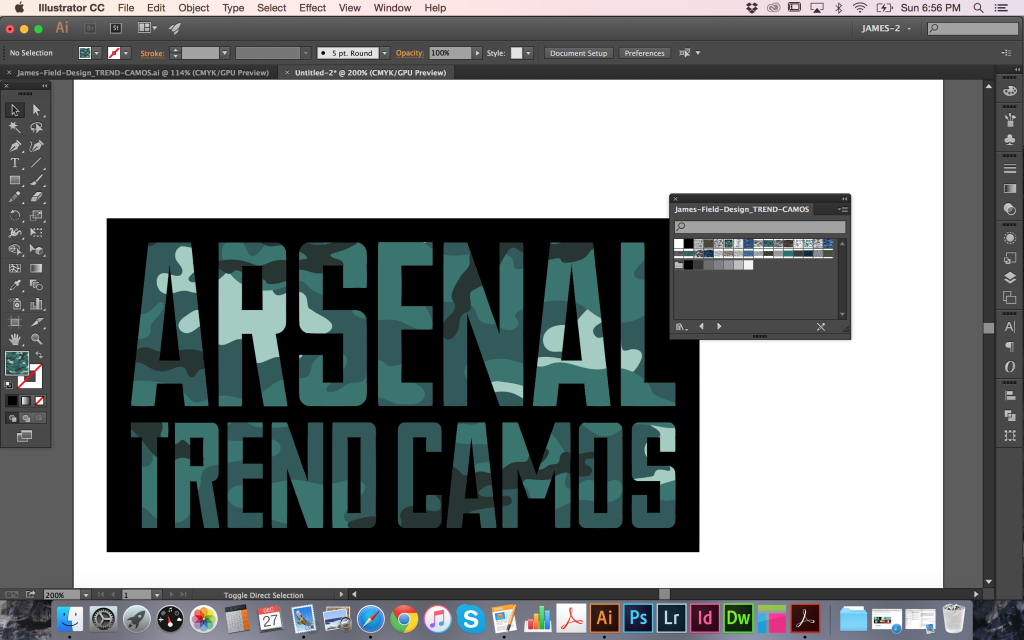
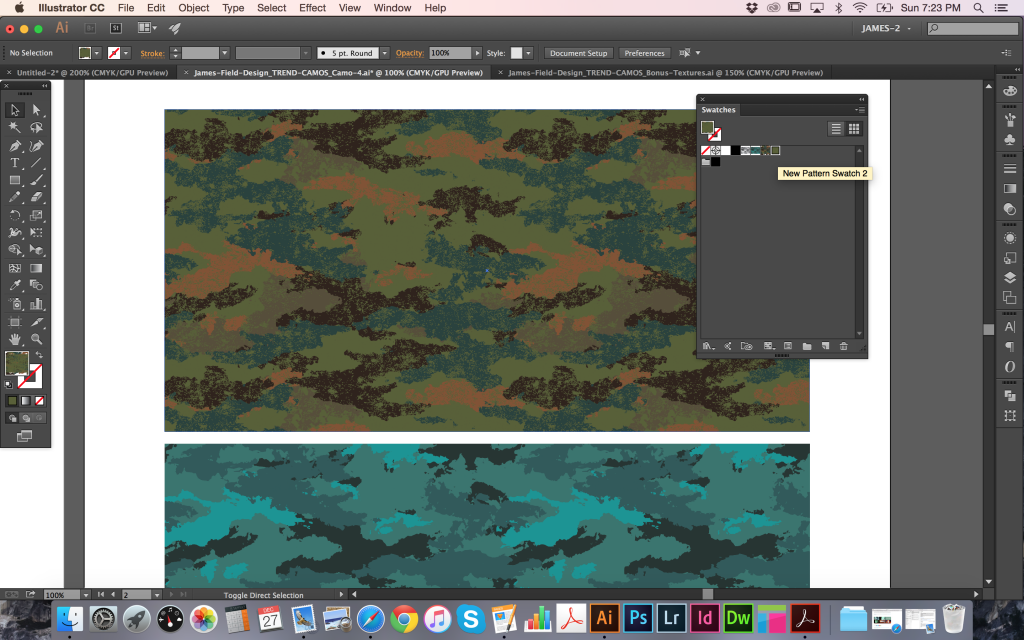
There are a number of files supplied and the easiest way to use the camos right out of the pack is to open the main document showcasing all of the designs together.

On each page you can see the individual camo patterns applied as both a grayscale and full color swatch. These can be found by name in your Swatches panel. To use these swatches directly in your work, you will need to save a library. This way, it can be opened in other documents whenever you need. Simply click the Panel Menu Icon in the top right corner of the Swatches panel and select Save Swatch Library as AI… to save them into your User Defined swatches library for later use.
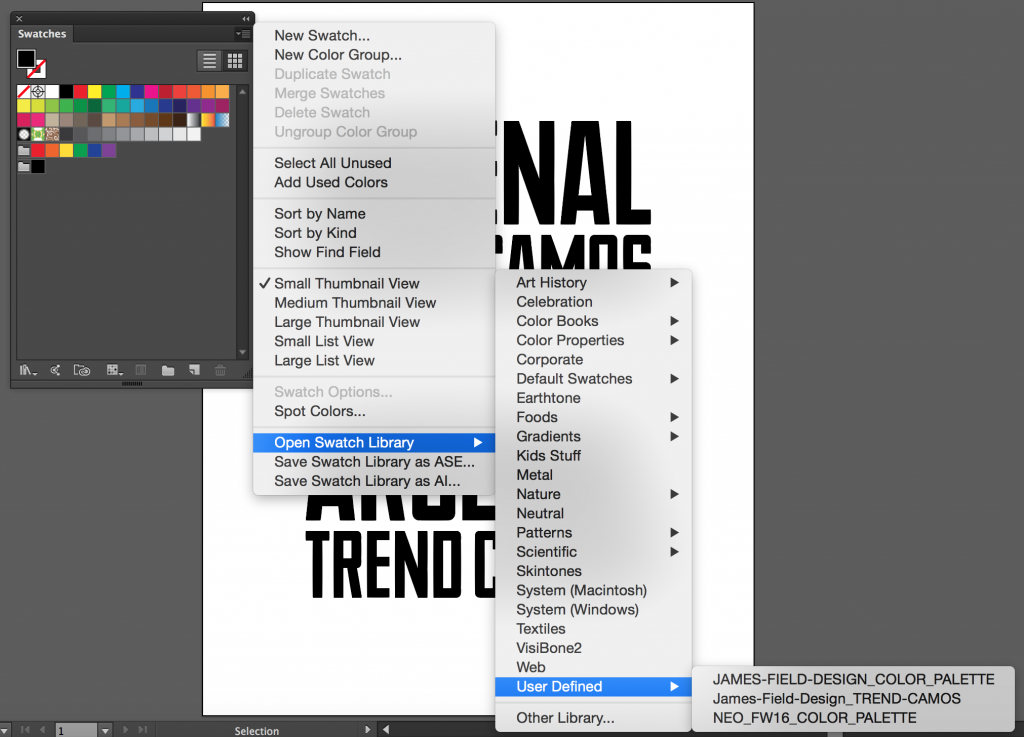
When working in a new document, you can open your Swatches panel, click the Panel Menu Icon in top-right corner, then follow Open Swatch Library > User Defined and select the
library you just saved. To apply them, you can now select an object and choose a camo pattern from the Swatches panel to fill it with.

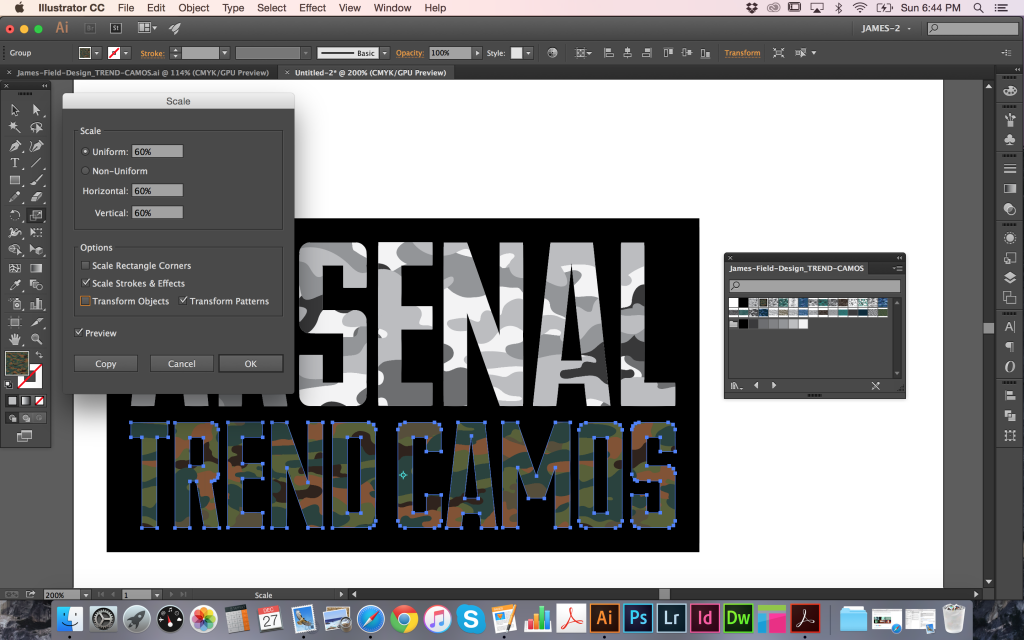
Often some quick adjustments are required to get things looking as you want them, so I’ll go through some of the most simple but important techniques. Firstly, the scale of the camo pattern filling the TREND CAMOS text in my example is a little too large to effectively see the extent of the pattern. To change it, select the object and double-click the Scale tool in the Tools Panel to bring up a number of Scale options. To adjust only the scale of the pattern and not the object itself, make sure to deselect the Transform Objects check box. In my example I have chosen to reduce uniformly to 60% and left the Preview check box selected to view the results.
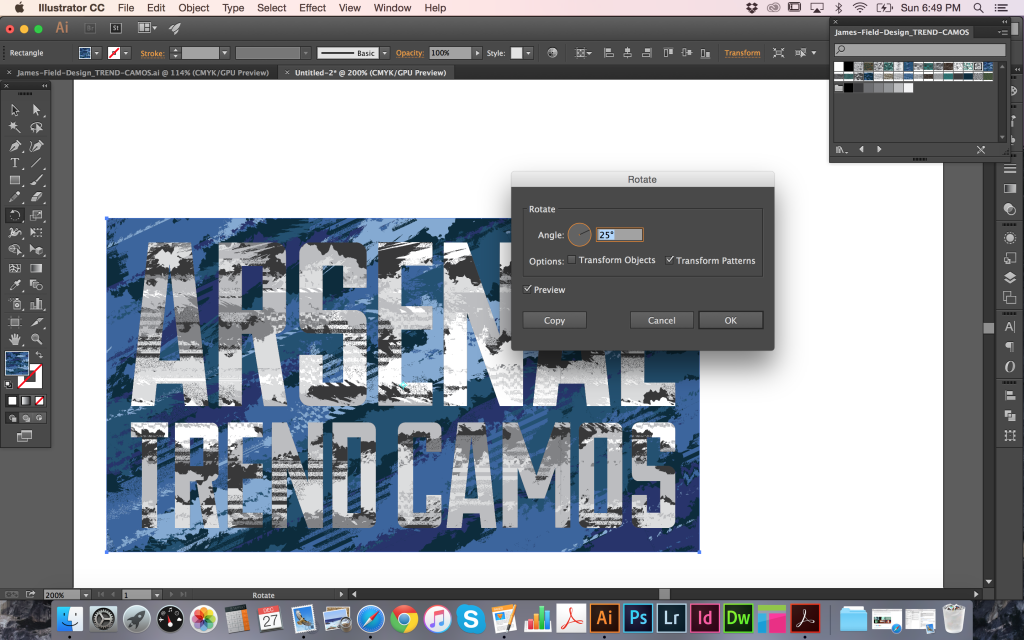
Next, I will show you how to rotate patterns. In my example, I have filled the outlined text and the background rectangle in the same camo pattern, but using different colors. To increase the
contrast between the two, I selected the rectangle object, then double-clicked the Rotate tool in the Tools panel to bring up the Rotate options. Again, deselecting Transform Objects allows
movement of only the pattern inside.
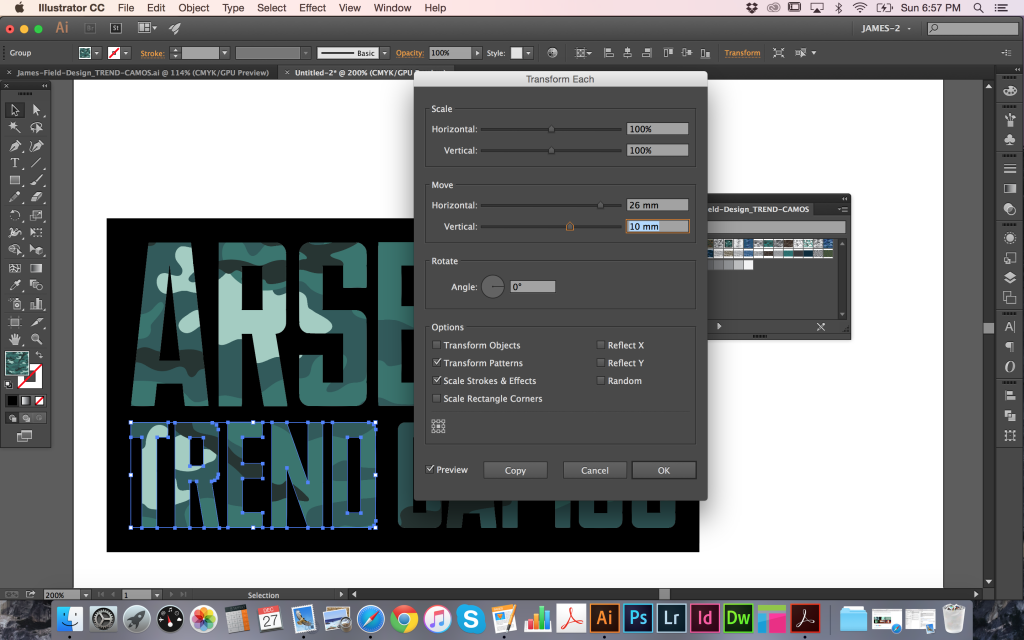
Finally, it can be very useful to move the position of the camo pattern to exactly where it is needed within an object. In my third example below, there are no light colored shapes on the
word TREND, but I would like there to be some. After selecting the outlined TREND text object, go to Object > Transform > Transform Each to bring up a more comprehensive set of Scale,
Rotation and Movement options. To move just the pattern, deselect the Transform Object check box as before and with the Preview box checked, go ahead and adjust the Horizontal and
Vertical sliders as required.

CUSTOMIZING YOUR CAMOS
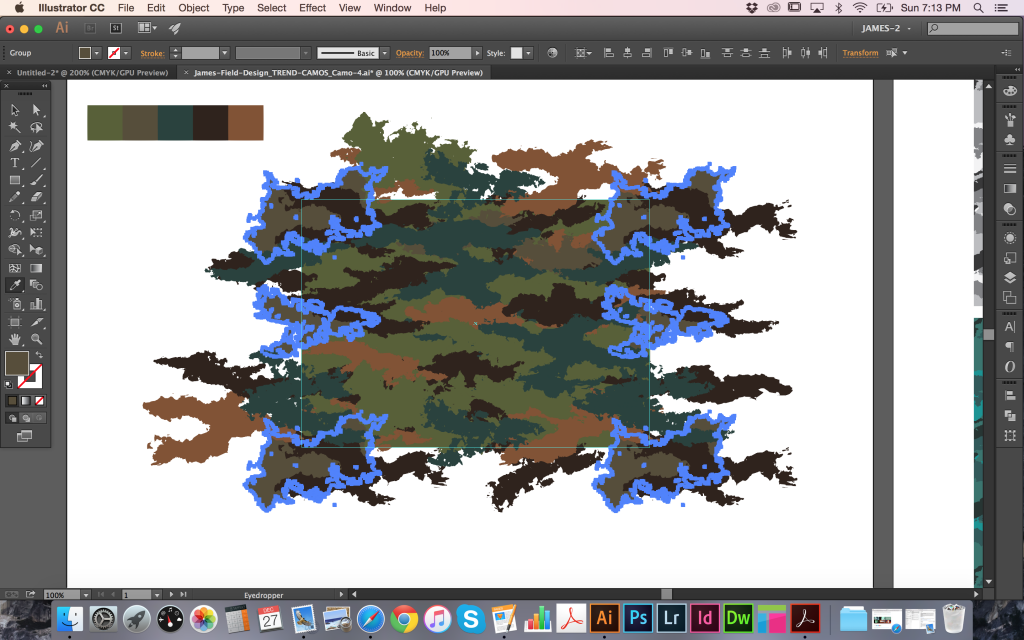
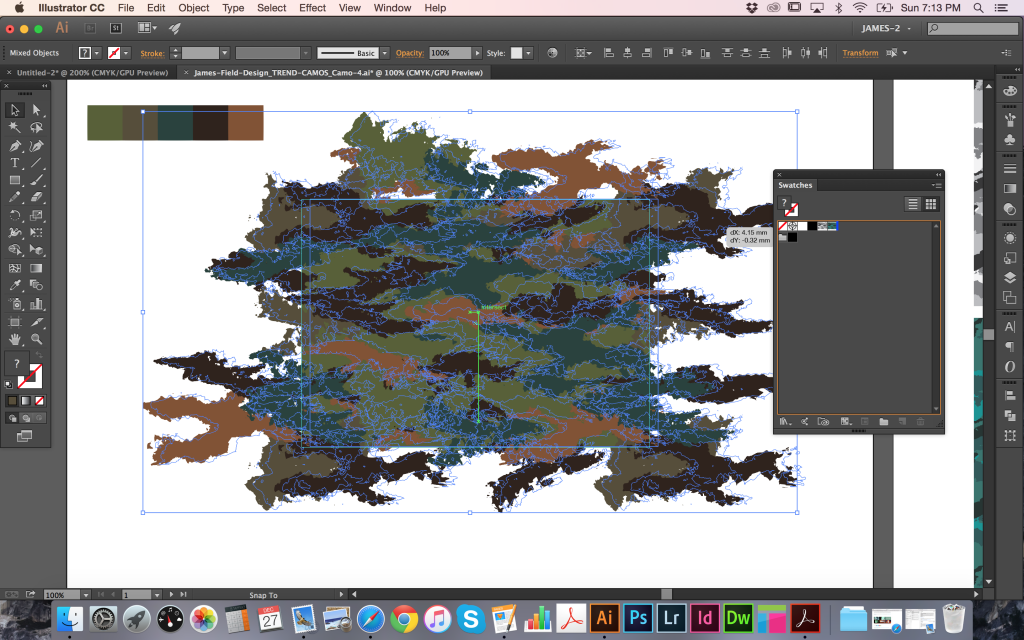
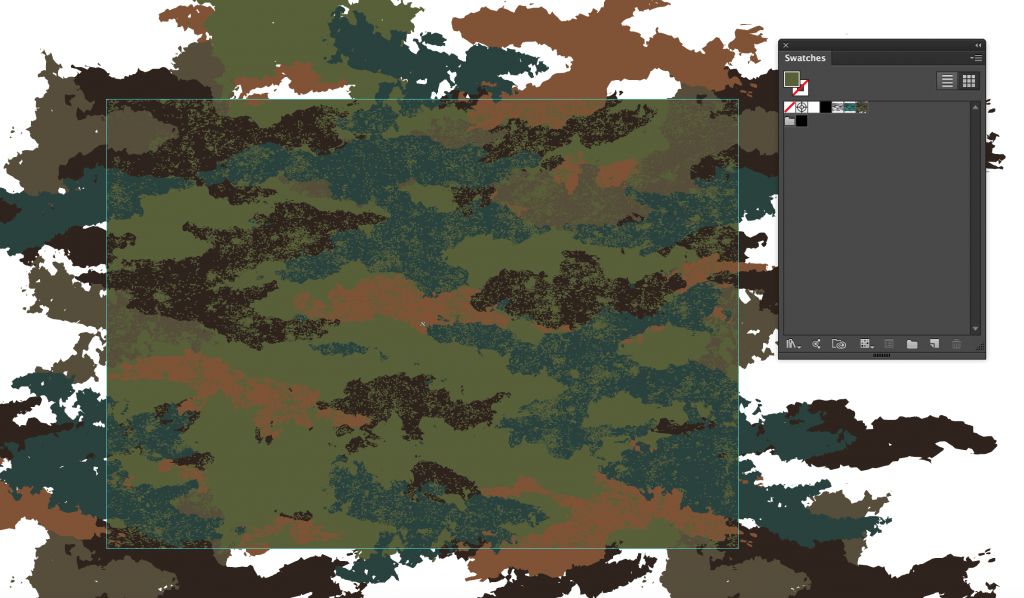
If you’d like to go a step further and customize the individual camos to more exacting specifications, then you can find each of the patterns ready to work with in their own individual documents. Opening any of these files you will see an artboard on the left with the original elements used to make the pattern. The rectangular guidelines are provided to show the boundaries of the tile area. Below this are the camo pattern shapes that you can recolor and below those are a rectangular background that can also be colored. Importantly, there is a second clear (no fill, no outline) rectangle at the very back that is the exact same size/shape as the guidelines that are used to define the pattern tile area. This MUST be left as it is and not grouped together with the other elements. The key to updating the camo patterns for yourself is to leave that clear rectangle alone, and to make the same changes to elements on all sides.
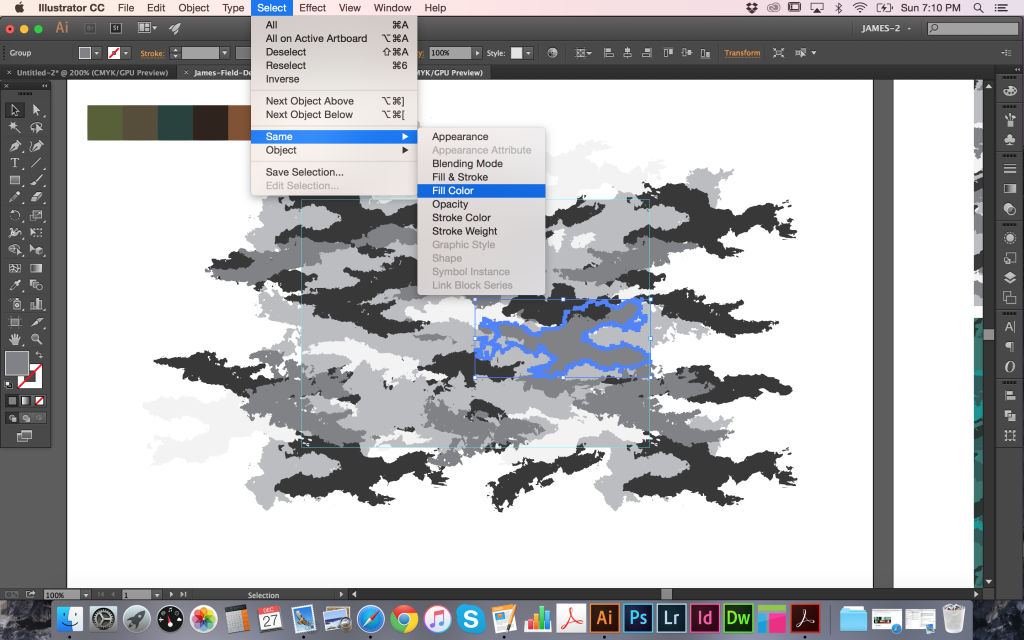
The most straightforward way to recolor the pattern is to select an individual element then follow Select > Same > Fill Color to collect all objects that same shade and apply your own new color. Continue to do this until you have your own color scheme created. In many cases, the camo shapes have been left intact so you can go in and change, add, or remove individual pieces to further adjust the look of the camo. However, always remember to make sure any elements overlapping the guidelines are also updated on their opposite sides in order to maintain the fully repeating visual. When you’re happy with the look of your pattern, select the entire camo (make sure to include that clear rectangle at the very back) and drag directly into your swatches panel. You should now see a new swatch created in the panel that can be applied to objects.
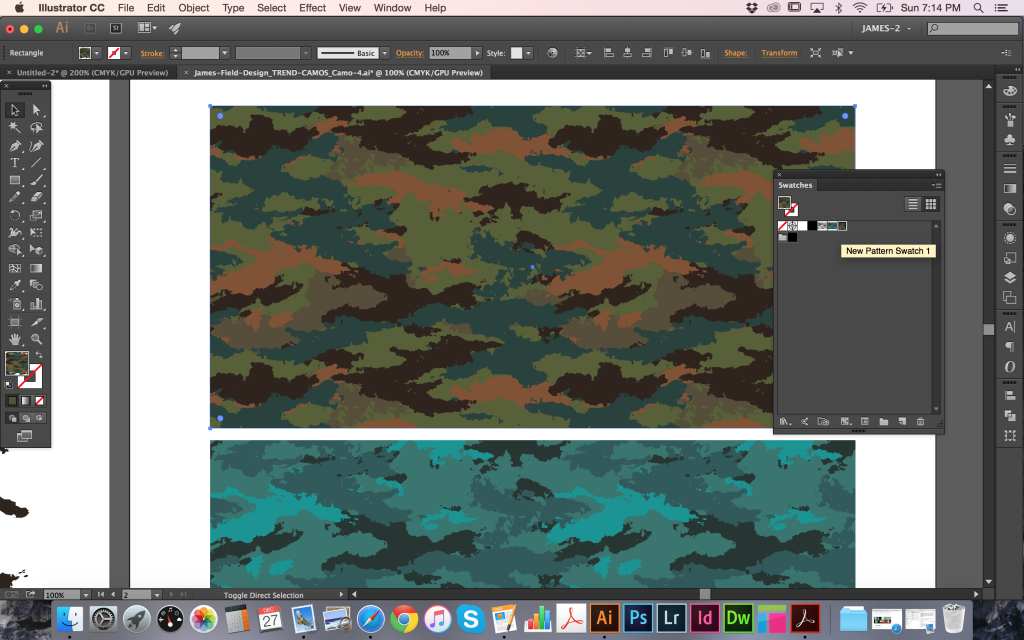
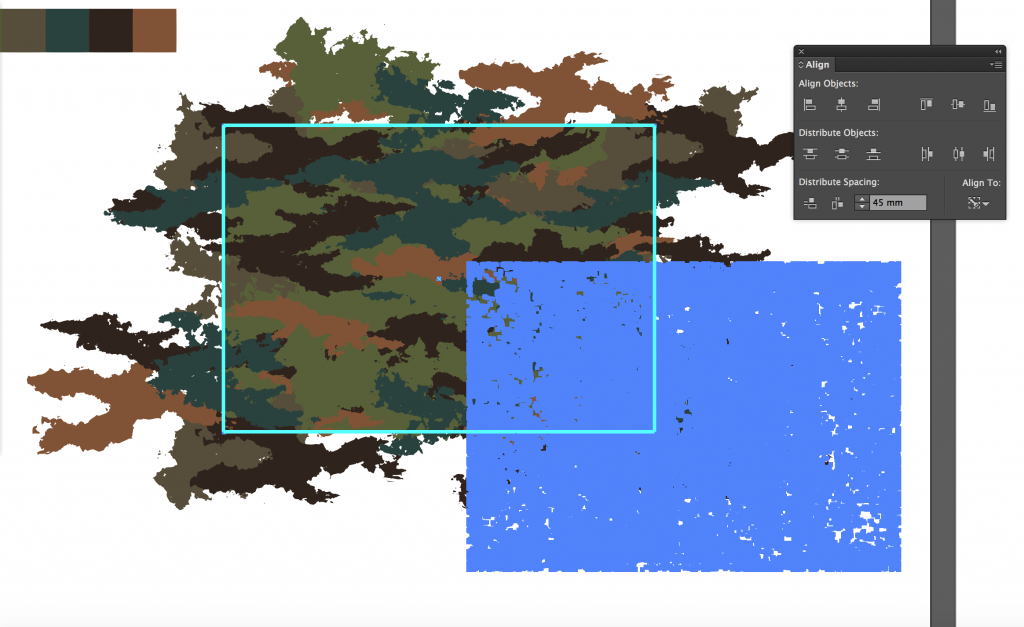
Provided with the Trend Camos are a set of three fully repeating bonus textures that can also be introduced into your camo patterns. Open that file and select the one (or more) that you want to use. Next, select and copy, then paste into your camo document. To make it repeat with your camo, you should resize and align to the guidelines and recolor to fit your scheme. To make an effective distressed look, use the same color as your background rectangle, then once again drag everything directly into your swatches panel.
NEXT STEPS
This is just the start of what can be achieved with the contents of the Trend Camos Pack. You can combine them, adjust them, resize, and recolor to fit your project as needed. As my first
ever tutorial, I hope everything was easy to follow and you found the info to be useful. If you have any questions or would like to see more, please get in touch and I’ll do my best to help out! I hope you enjoy using the Trend Camos Pack and I look forward to receiving your feedback.
Learn More about the Trend Camo Texture Pack
Learn more about James on his Official Site | Behance | LinkedIn | Twitter | Tumblr | Facebook