
Join us each and every week here at the Arsenal blog, where we we’ll be sharing a design shortcut or mini-tutorial to make your life a little easier (and design a lot more fun). Today, we’re showing you how to turn a sketch into a pattern brush. From there, you can make frames, wreaths and much more.
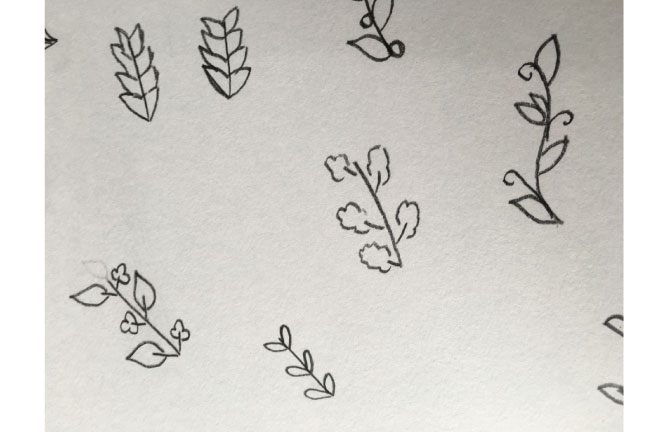
STEP ONE: Doodle away using pencil. Scan and bring into AI.
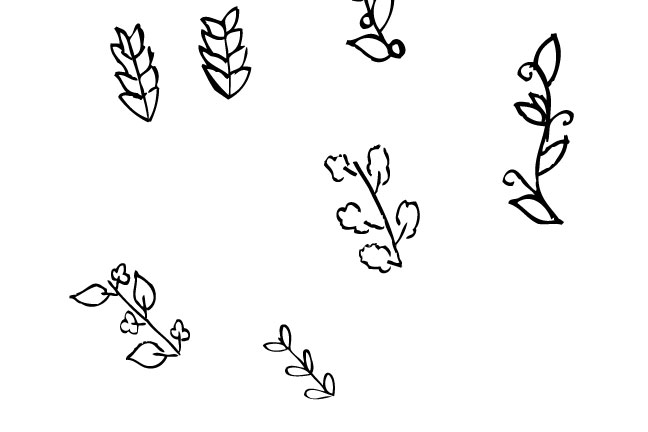
STEP TWO: Object > Live Trace and Expand. Delete your white background out, leaving only your black lines. Edit your lines if needed using the pen tool.
STEP THREE: Select one of your vectors and paste into a new document. Hit Ctrl+C, Ctrl+F, then Object > Transform > Reflect. Choose a horizontal axis. Next, slide the vector over next to the original.

STEP FOUR: Select the vectors. Drag them over to your brushes panel (Window > Brushes). When you do, a window will pop up. Select: Pattern Brush, OK. From the menu, select Approximate Path > OK.
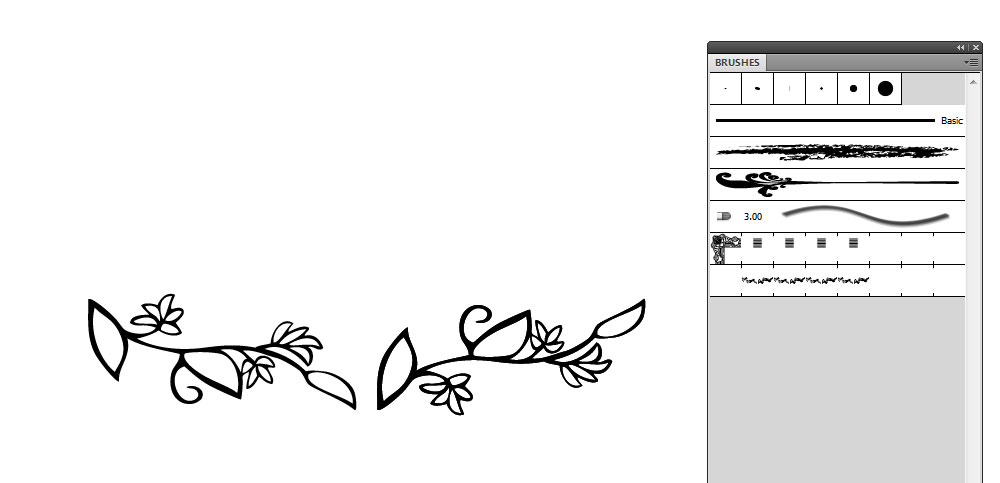
STEP FIVE: Grab your pen tool, rectangle or circle tool. Draw a line or other shape. Next, click on your brush and poof – your frame or wreath is done. You get a gold star for the day.

Are you an Arsenal Member? Then today’s your un-birthday, because you get all of our new foliage brushes for free, as well as our huge library of products. If you haven’t subscribed yet, what are you waiting for? Join the revolution for only $15 per month! Cancel at anytime, no strings attached.