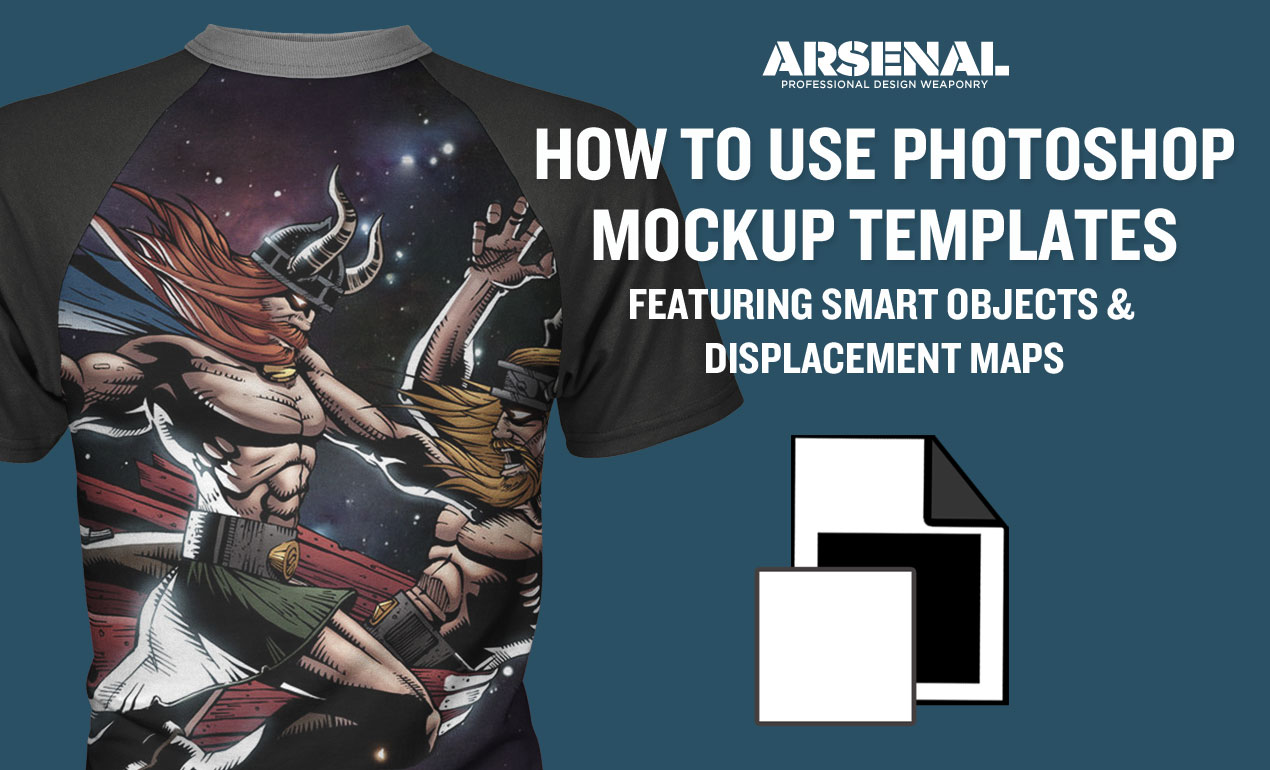
Smart-Object Enabled Mockup Template Packs!
Congratulations on purchasing your brand new mockup template pack! If the pack is smart-object enabled or features a displacement map, this post is for you.
Wait…how do you know you have a smart-object enabled template?
First, open your newly downloaded mockup template in Photoshop. (File > Open)
Next, make sure your ARTWORK layer is highlighted.
Look for the smart-object “symbol” and artwork layer, which will be highlighted in red like so:
![]()
See that? Let’s proceed with smart-objects!
First, double click into the Smart Object symbol we learned about above, which will open up a new screen.
When you’ve arrived at the next screen, head to the “Hide this Layer” layer. Hit the little eyeball to, well, hide that layer. (And the artwork we placed there.)
![]()
Next, head up to the ARTWORK layer.

Once this layer is highlighted, go File > Place. Now, navigate to your design file and press OK/Place.
Your design will appear on the artboard, however, you won’t be too clear on how it will look on the t-shirt just yet. But…Pro Tip: Temporarily, turn the opacity on your design down and the visibility of the Placement Guide on if you would like to get some guidance on how your design will look on the t-shirt after you press save in the next step.

When you’re ready to proceed, turn visibility of the Placement Guide off and opacity of your design to 100%.
Next, File > Save and X out of this screen.
[Oopsy! If a screen pops up giving you a message regarding your displacement map, you have done something that unlinked the files. Don’t worry! Simply press OK when asked, then, navigate to the displacement map that matches the mockup template you are working on to relink the files. For example, if you are working with the Men’s Short Sleeve Raglan, Ghosted – Front View, navigate to the Displacement Map Folder > Men’s Short Sleeve Raglan, Ghosted – Front View file.]
Ok, so check it out! Your design appears on your tee, wrapped around nicely thanks to that displacement map. Now, add your sleeve artwork by repeating the steps above, or simply change the sleeve color, collar color (and tee color as needed) and you’re done!

And by the way, you do not need to use the displacement map files unless you have somehow unlinked your files as noted above. The displacement maps are lovingly built into our new mockup templates by the Go Media designers, so enjoy!