Design Tip of the Day: Creating a Simple Abstract Background in PS & Freebies
Create an Abstract Background in PS in Five Steps
Today, we’ll be creating an abstract background texture using Photoshop. Let’s start by opening PS and creating a new document, sized 4235 x 2927.
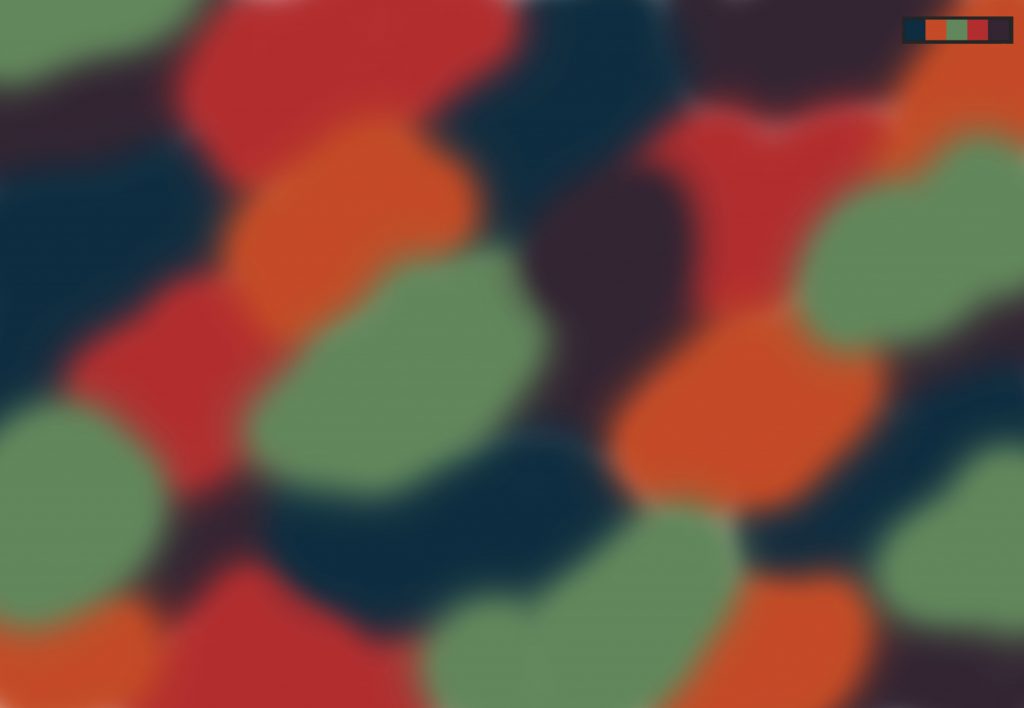
Step One: Using a color palette or photo for color inspiration, fill your canvas with blocks (or shall I say, blobs) of color, using a soft paint brush. Start with dark and end with light colors. Overlap your colors, ensuring every piece of your canvas is filled.
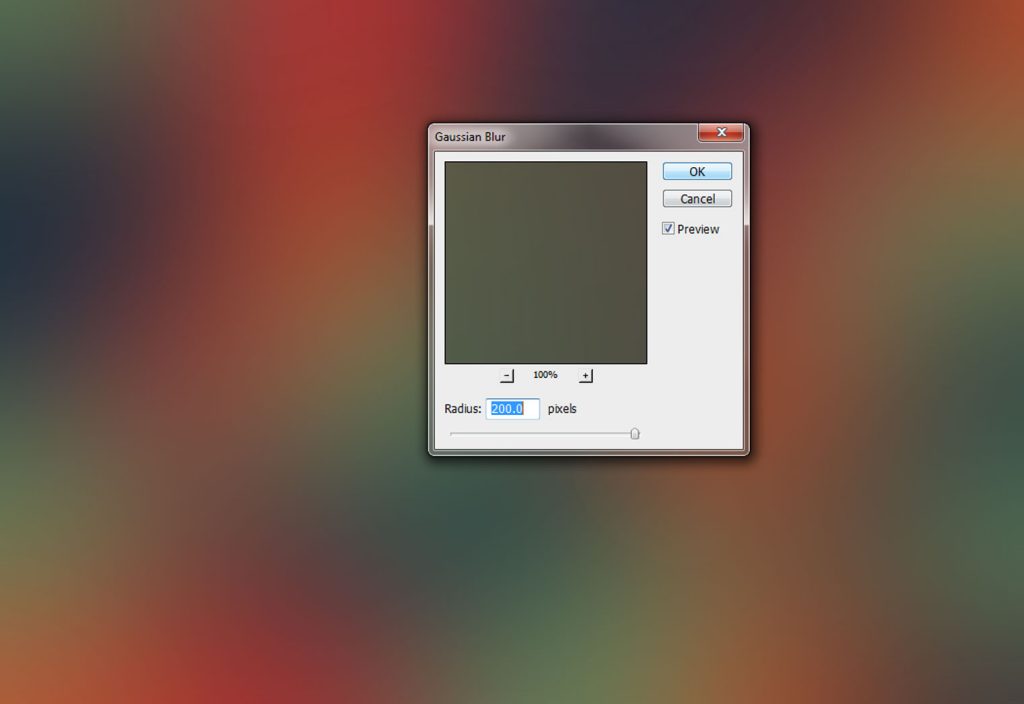
Step Two: Apply a Gaussian Blur to your image. 200 pixels please.
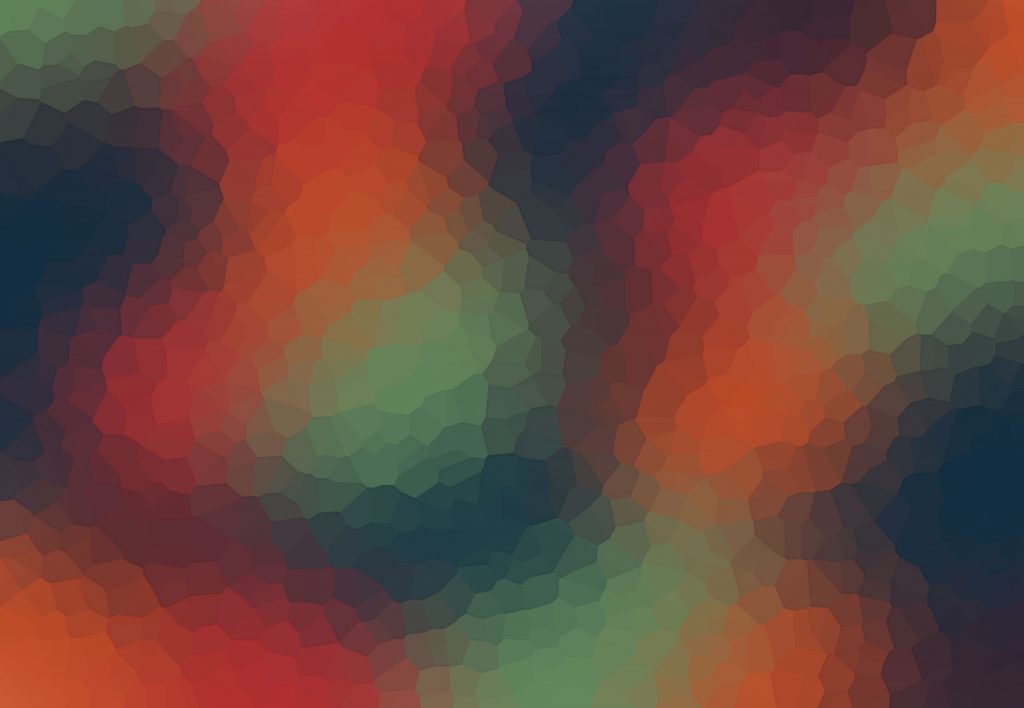
Step Three: Next, Filter > Pixelate > Crystallize your image. Play around with Cell Size here. I chose Cell Size 155.
Step Four: Duplicate this layer and set it to screen with an opacity of 8.
Then, on your duplicated layer, choose Filter > Colored Pencil > (choosing the following settings: Pencil Width 8, Stroke Pressure 10, Paper Brightness 29) then OK.
Step Five: Merge your layers and you’re golden! These abstract backgrounds are great for web applications and various print projects including album cover, poster designs and presentations. Have fun and please feel free to download this sample, along with some others we’ve created, here:
Abstract Background Textures by Go Media
Have a great day, everyone!


Comments are closed.