Tag Archives: lettering
Hey Arsenal Friends! Today, we’ll be going over how to create food typography. This tutorial is for beginners by someone who is relatively new to the world of food typography. Let’s explore together!
What you need for this tutorial:
- Adobe Photoshop and Illustrator
- A piece of white paper
- A camera (preferably a DSLR)
- Our Coffee Vector Pack
- Our Flourishes 4 Vector Pack
- Sortdecai font from our library (*Or, receive all of these Arsenal products with our Membership!)
- This photo from our friends at Unsplash
Step One: Create a Photoshop document sized 8 x 6 inches. Download Sortdecai font from our library. Type out the word COFE in your document using Sortdeci, filling the doc. Bring the opacity down to about 10%. Print this page out to use as a template. If you’re a Pro and can be assured your F and E will look identical, go ahead and print out a full COFFEE template. If you’re sticking with me, we’ll be using Photoshop to duplicate our F and E letters in step three.

Step Two: Step away from your computer. Here comes the fun part! Pour some coffee grounds out and get ready to make some magic. Using a small paintbrush in combination with an exacto knife to start creating your custom coffee typography. Once you’re finished, use a DSLR to take a sharp macro photo of your piece.

Step Three: Using your magic wand tool in Photoshop, duplicate your F and E to create a full COFFEE lettered piece.

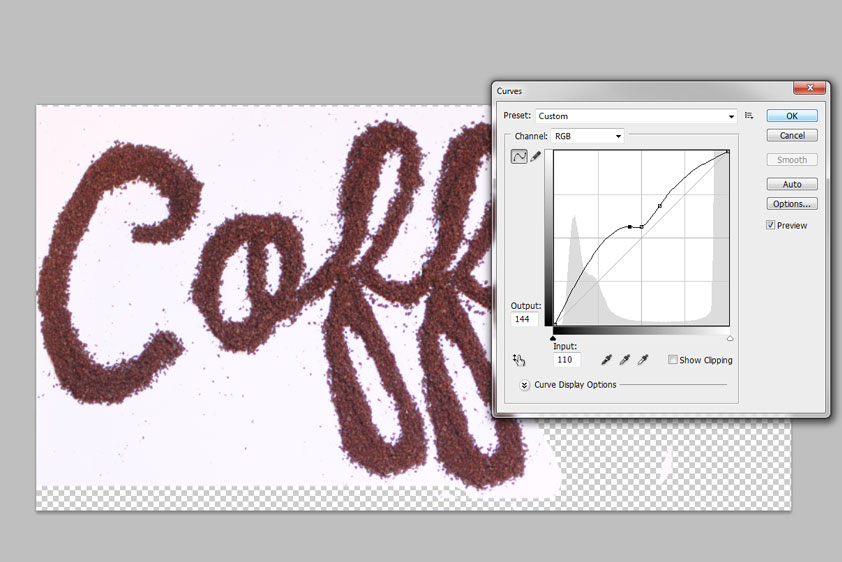
Step Four: Head to Image > Adjustments > Curves. Play with your curves until you achieve the look you’re after, with the coffee grounds appearing as realistic as possible.

Step Five: Delete your background layer. Next, double-click on your coffee art layer to reveal the layer styles box. Under blending options, head down to the slider that reads: This layer under “Blend if Grey.” Slide the white slider down like so until your background disappears. Save this file as a PNG.

Step Six. Open up the photo you downloaded from Unsplash in Photoshop. Place your Coffee PNG into the document, on the right-hand side. Place it where you think it looks best.

Step Seven. I think our work needs a little extra pizazz. So, let’s pull some of our vector elements into the document. Open the Coffee Vector Pack and Flourish 4 Vector Packs up in AI. Place these vectors above the mug, so that your flourish vectors represent steam and the coffee vectors playfully rise above the mug as well. By double clicking on each layer to pull up the layer style menu, I’ve set all of my vectors to divide with a drop shadow of 6%.

And you’re done!

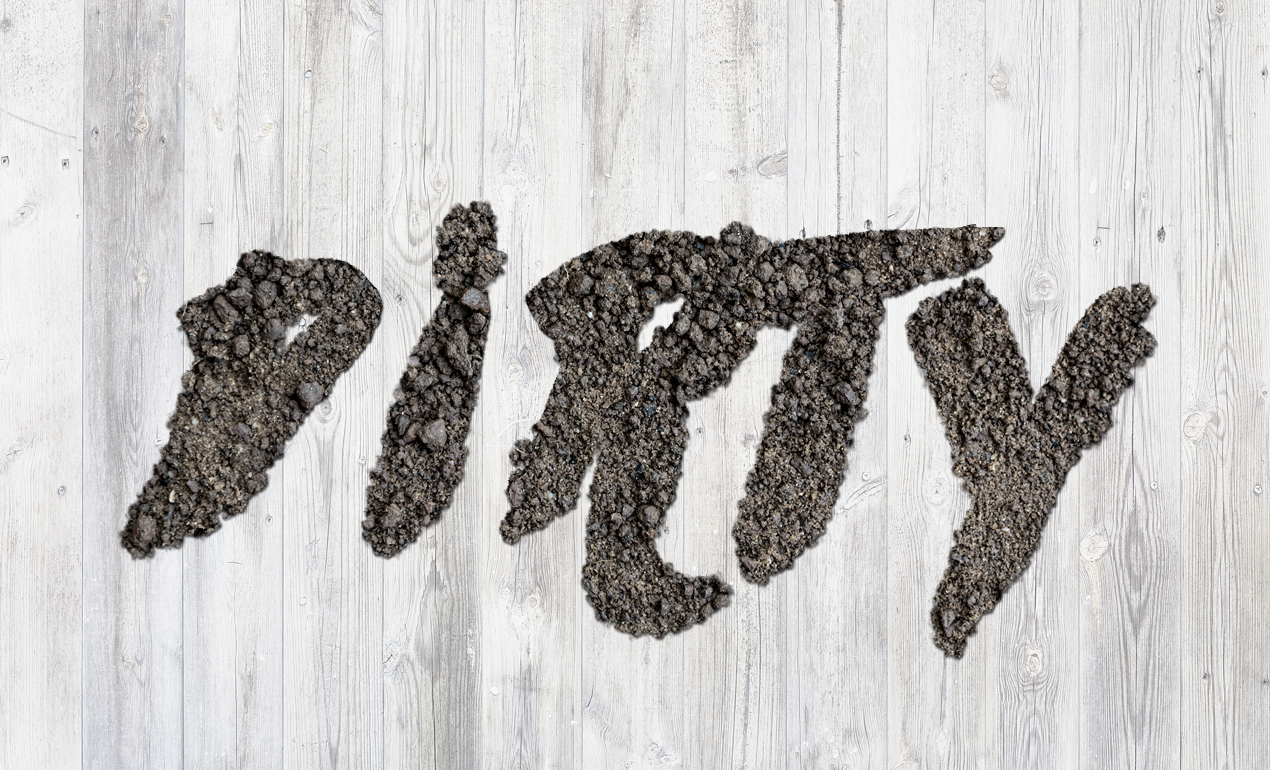
In today’s tutorial, we are using a stock image of soil to create this sweet text effect in Photoshop. Ready? Let’s go! Read More ›
Download of the Day: Free Hand Drawn Laurel Vectors
Join us every Thursday, when your friends here at the Arsenal take over the Go Media blog to share insights, tips, freebies or other fun to brighten your work day. Read More ›


