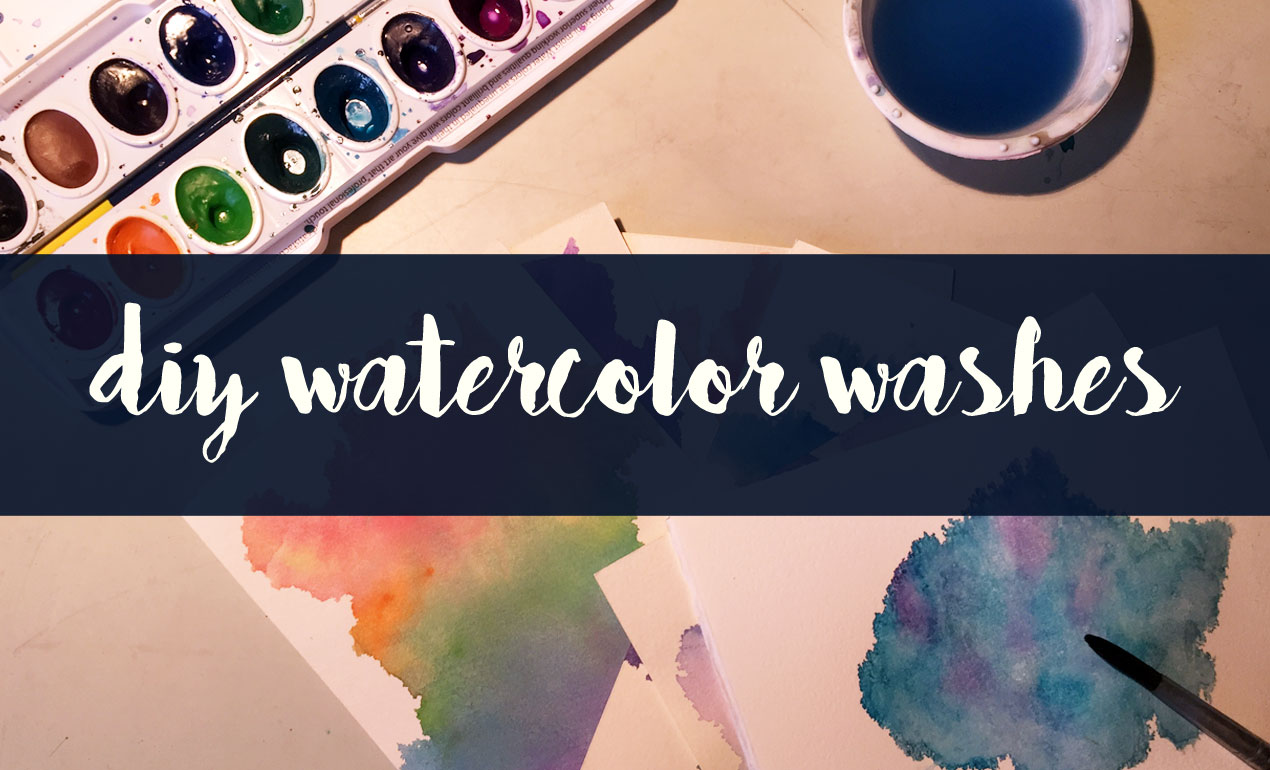
Design Tip of the Day: DIY Watercolor Washes + Freebie
In today’s Design Tip of the Day, we’re creating DIY Watercolor Washes using a fun and easy method that results in completely one of a kind, abstract elements like some of the ones we just released in our Watercolors 3 Elements and Texture Pack. Want to see how we created them? Let’s go!
You’ll need:
- Watercolor Paper
- Watercolors
- Paintbrush(es)
- Water
- Cling Wrap
Shop Watercolor 3 Elements & Texture Pack
STEP ONE: Lay a piece of cling wrap upon your art surface. The cling wrap should be a bit larger than your watercolor paper. (At least a few inches all the way around.) The cling wrap should be laid out as flat as possible on your work surface.

STEP TWO: Using a wet paintbrush, start creating small puddles of color on cling wrap. Keep in mind that your colors will end up bleeding later in the process. Because of this, you may want to limit the size and placement of your puddles dependent on how large or small you’d like your element or texture to appear. Figuring out what works best takes a bit of practice.
STEP TWO: Add additional colors, making sure the puddles of paint are close together (so that they’ll bleed nicely into each other) and quite damp. This will deliver the best results.
STEP THREE: Press your watercolor paper on top of the cling wrap and push down. Should some colors leak out from underneath the paper, wipe these away with a paper towel.

STEP FOUR: Wrap your client wrap around the watercolor paper like a present, then carefully flip the paper right side up so that you can see what you’ve created!

STEP FIVE: Press the paint around, using the cling wrap, if you see any areas that need more color. Or, leave as is.
You’re all set!

Download our the abstract watercolor texture we created for this tutorial here: Abstract-Watercolor-Element-Sample

Comments are closed.